
EnglishEN
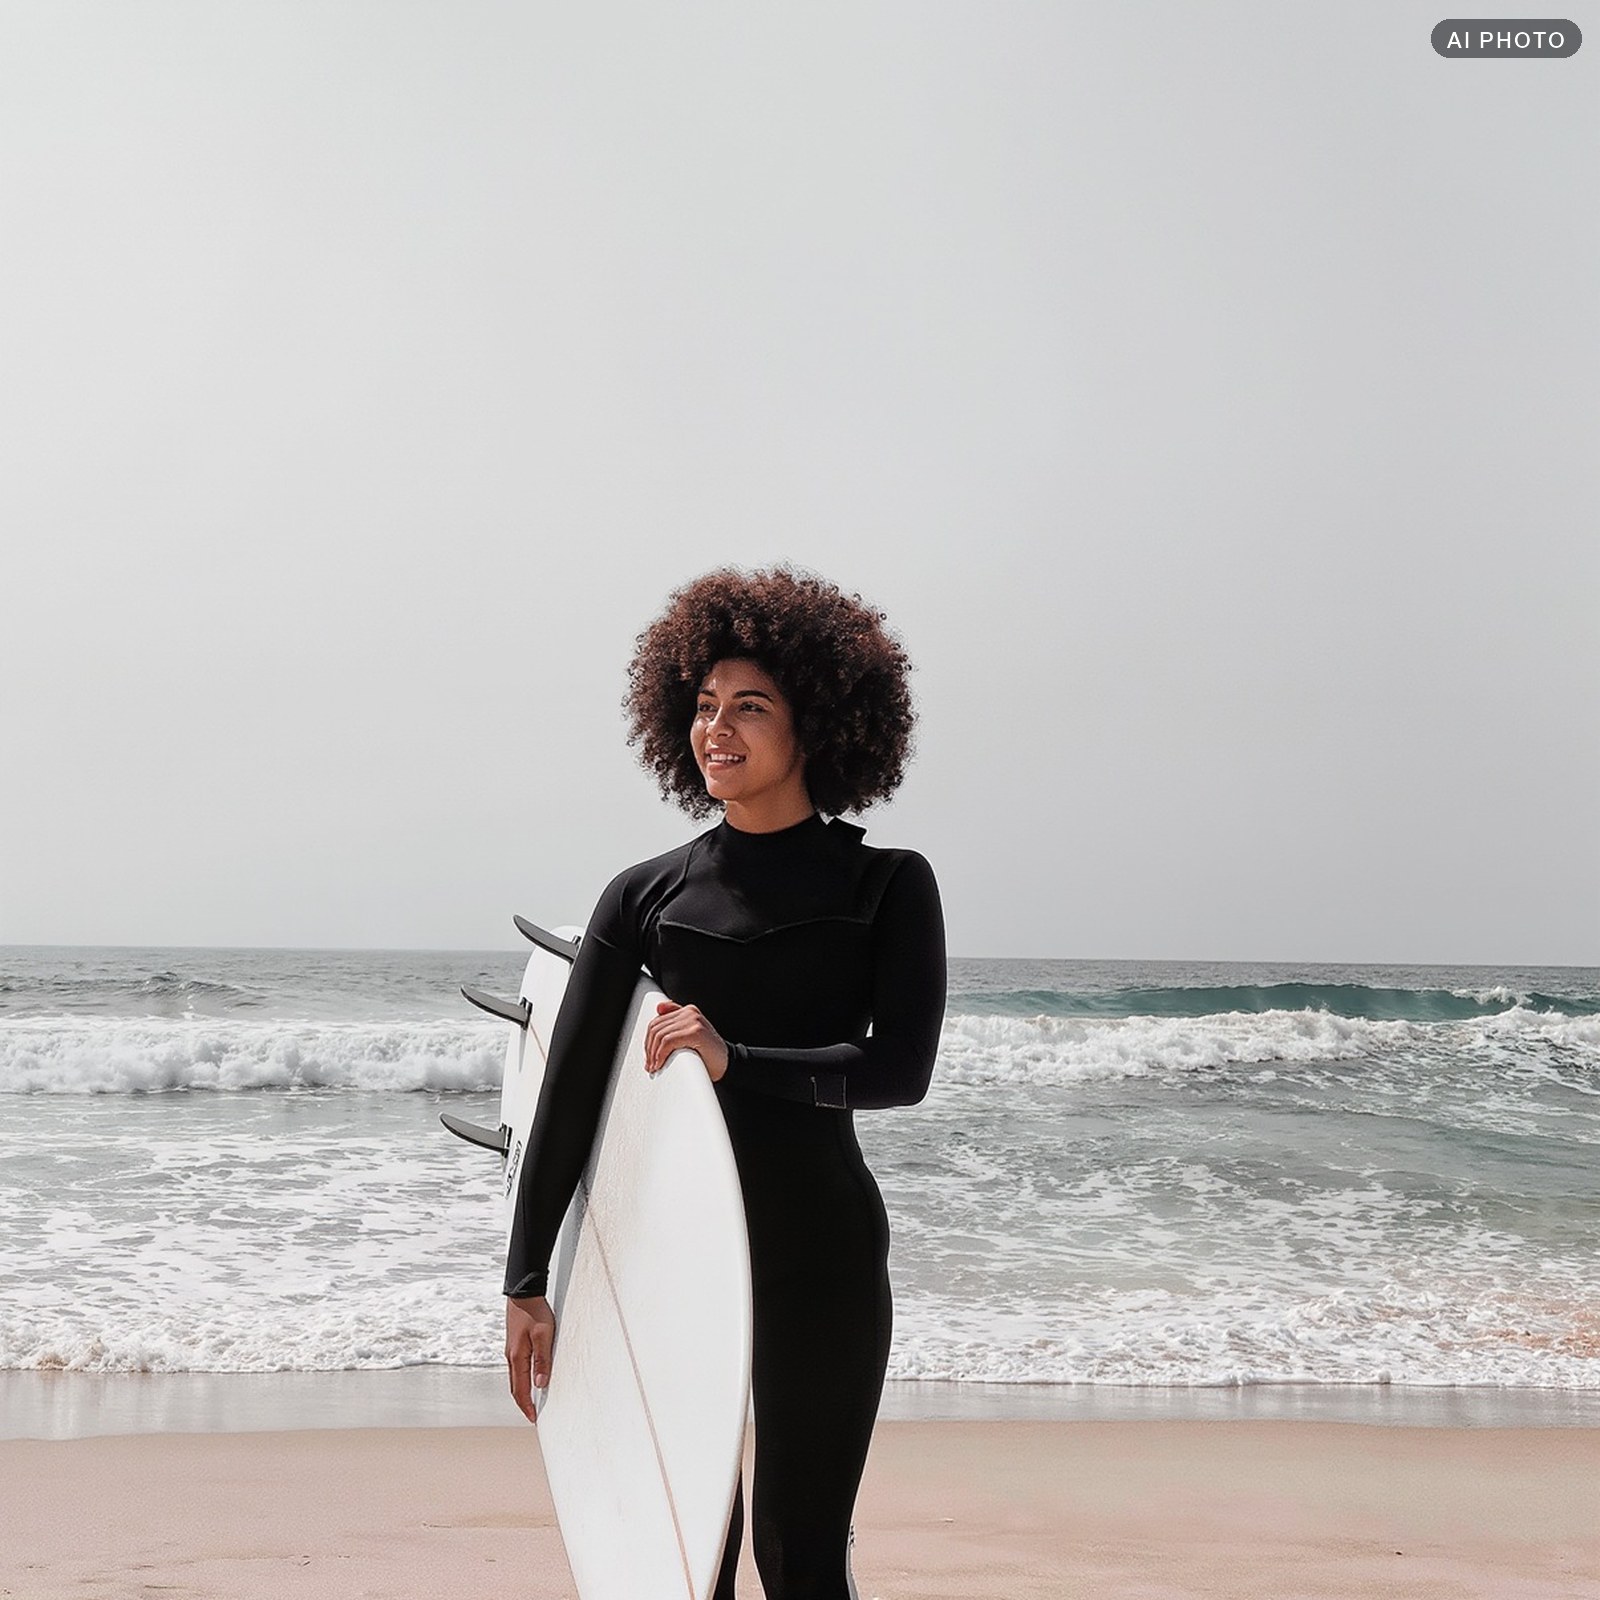
 beforeafter
In the archive
At noon a phone makes the ocean pale, the sand yellow and a tan orange. SWELL builds summer by the water: sun-bleached cream sand, a deep blue ocean, turquoise in the wave crests and a warm even tan. The frame stays light and airy.
What the main version does. Aqua and blue are richer and blue is darker, so the ocean gets deep and the waves turquoise. Yellow is slightly muted, so the sand stays cream. Skin orange is lighter and calmer. Shadows slightly teal, highlights warm, contrast soft.
Soft does the same at 60 %. Use it on frames where the water is already bright.
Color and tone live in a profile inside the preset, so the light and color sliders stay at zero after you apply it, and the Amount slider sets the strength. You can still adjust exposure as usual without breaking the look.
It works best on surf and surfers, beaches and waves, surf camps and coastlines, cars by the beach, summer trips and winter escapes to the sun. For tropical lagoons, AZURE fits better.
The archive has 8 files: two .xmp presets, two .dng files for the free Lightroom mobile app, two .cube LUTs for video and Photoshop, and an install guide in English and Russian. The LUT carries color only: no grain, texture or vignette.
The example photos on this page were created by AI: ordinary shots that look straight from a phone, no editing. The “after” is this preset alone, main version, no retouching.
How to install
Three formats in the pack: .dng for the free Lightroom app on your phone, .xmp for Lightroom and Camera Raw on desktop, .cube for video and Photoshop. If the look is too strong, lower the LUT strength in your video editor, and in Lightroom adjust the sliders after applying the preset.
Lightroom Classic and Lightroom on desktop
- Lightroom Classic: Develop module → Presets panel → “+” → Import Presets → pick the .xmp.
- Cloud Lightroom: File → Import Profiles & Presets → pick the .xmp.
- They appear in the GradeColor group. Click a preset, then adjust white balance and exposure for your shot.
Lightroom on your phone (free)
- Save the .dng to your phone and add it to Lightroom: it opens as a photo carrying the look.
- Open that photo → ⋯ (top right) → Create Preset → name it → save. Or copy its settings and paste them onto your photos.
- You can also import the .xmp: Presets → Yours tab → ⋯ → Import Presets.
Photoshop and Camera Raw
- Preset: Filter → Camera Raw → Presets tab → ⋯ → Import Profiles & Presets → .xmp.
- LUT: Layer → New Adjustment Layer → Color Lookup → Load 3D LUT → .cube.
Premiere Pro (LUT)
- Select the clip → Lumetri Color panel.
- Creative → Look → Browse… → pick the .cube.
- The Intensity slider sets the strength.
DaVinci Resolve (LUT)
- Project Settings → Color Management → Open LUT Folder → copy the .cube there.
- Right-click the LUT list → Update Lists.
- Color page → right-click a node → LUT → pick the LUT. Strength: Key Output Gain. If you shot LOG, convert to Rec.709 on a separate node first.
Final Cut Pro (LUT)
- Select the clip → add the Custom LUT effect.
- In the effect settings → LUT → Choose Custom LUT… → pick the .cube.
- Mix sets the strength.
CapCut on desktop (LUT)
- Select the clip → clip adjustment panel → LUT section → Import → pick the .cube.
- Not every mobile editor imports LUTs, and menu names differ.
Stuck? Email hello@gradecolor.com and we’ll sort it out.