
EnglishEN
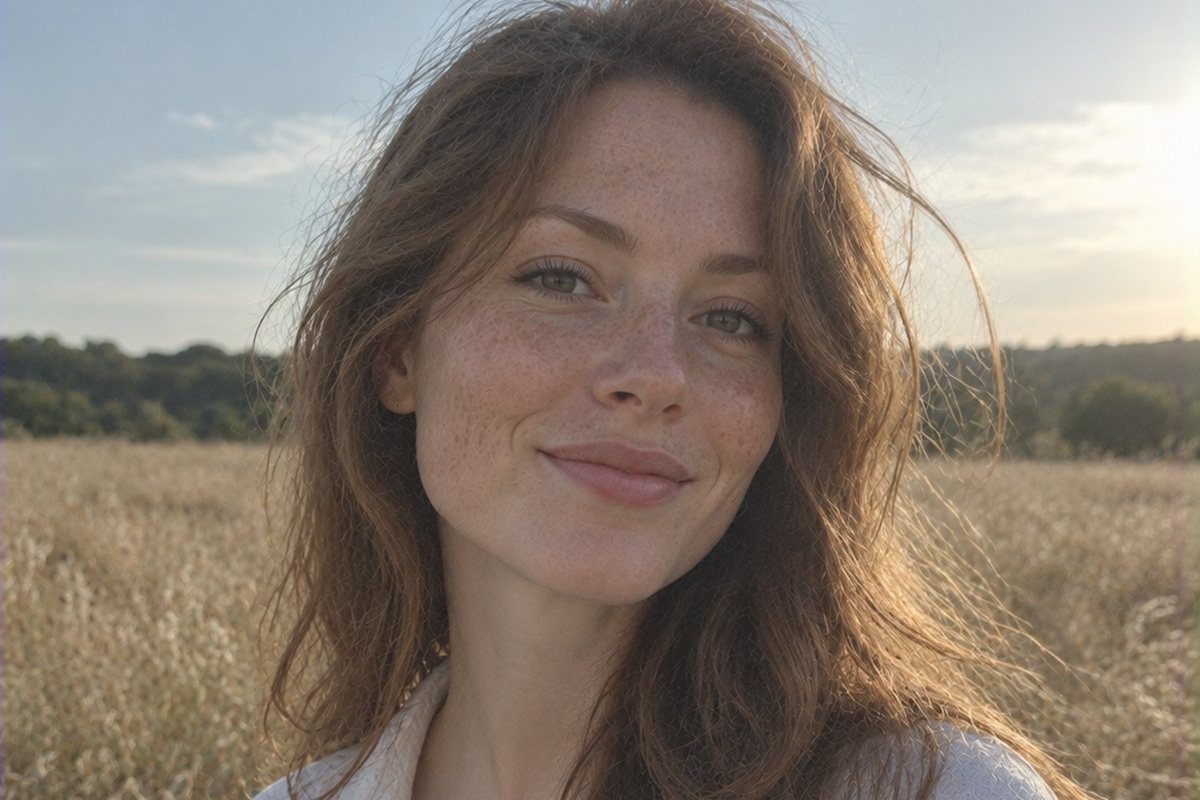
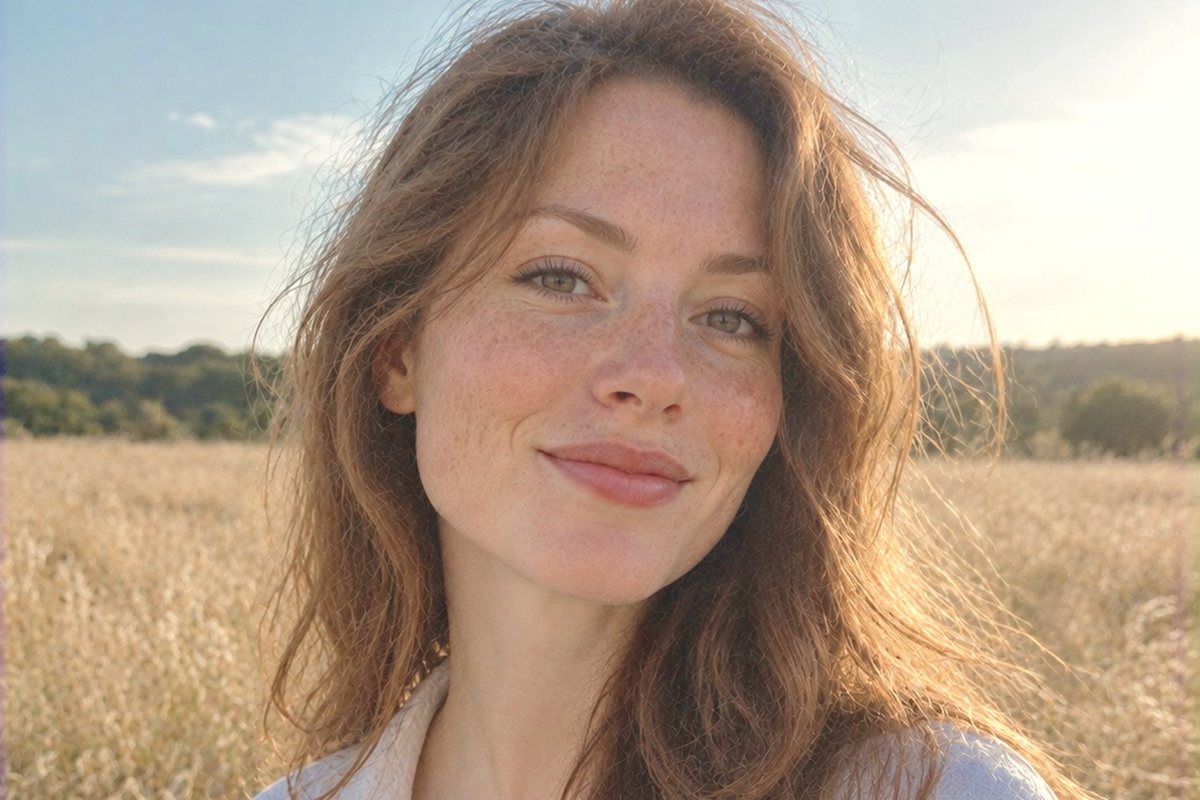 beforeafter
A $9 pack covers one subject. This preset covers all of them
A portrait, a night street, snow and a plate in a café come out in the same palette. The feed looks consistent, and you do not need ten packs for ten situations.
A Soft version for photos that are already bright, plus a guide built on three sliders: Exposure, Highlights, Temperature. That covers dark, blown-out and yellow shots.
The .cube LUT is made from the same look, so your clips in Premiere, DaVinci, Final Cut and CapCut match your photos.
What's inside
One preset on every kind of photo
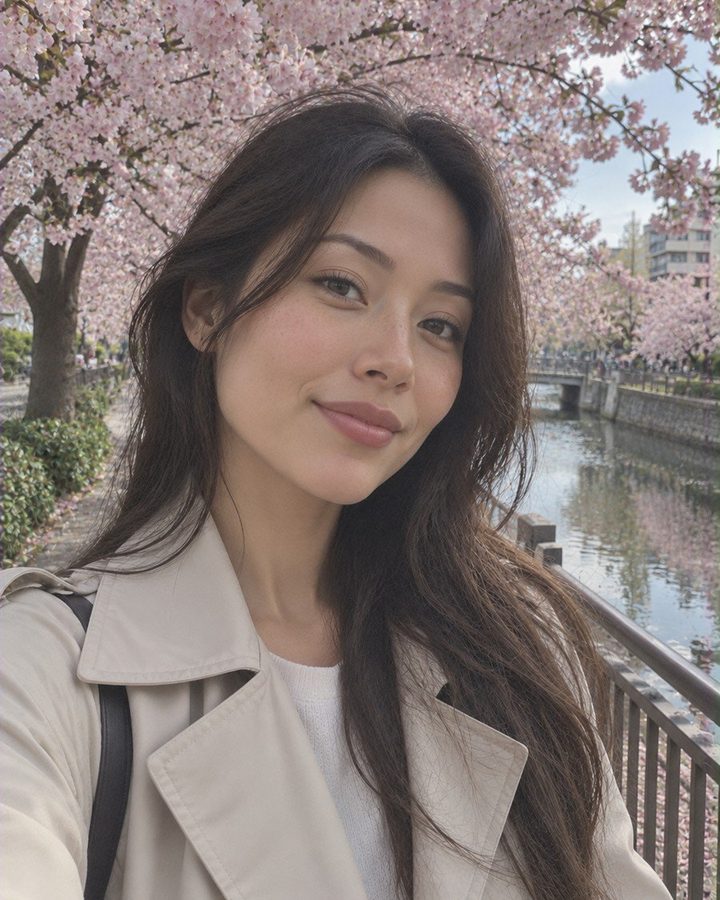
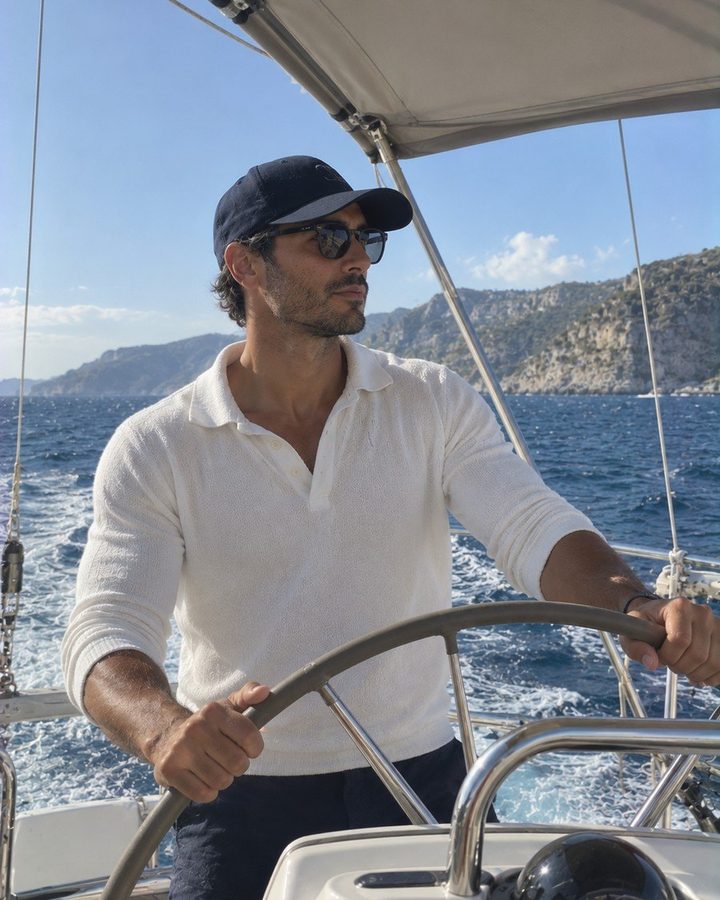
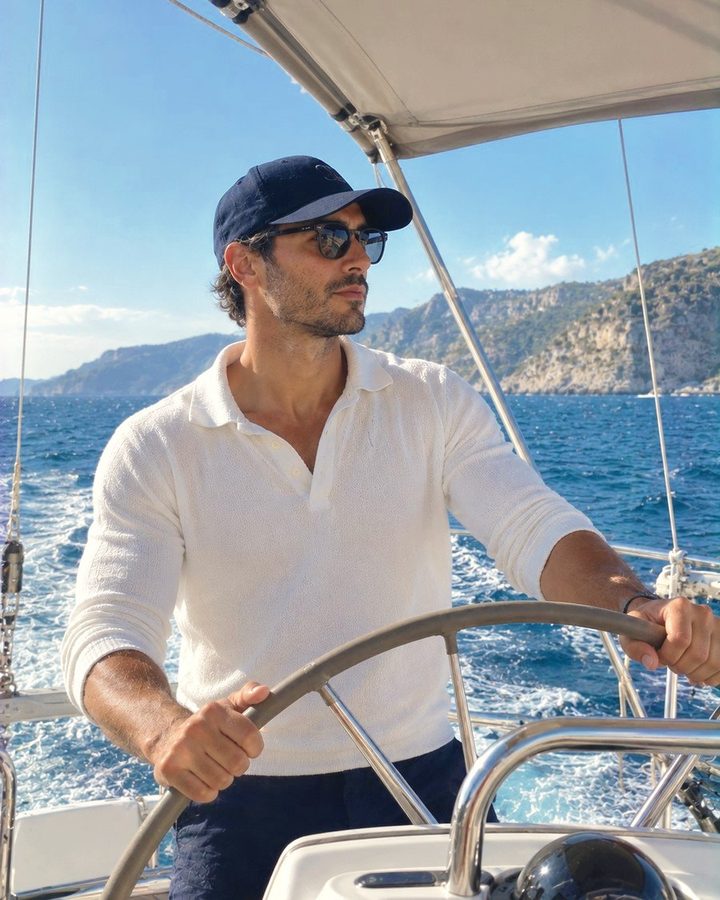
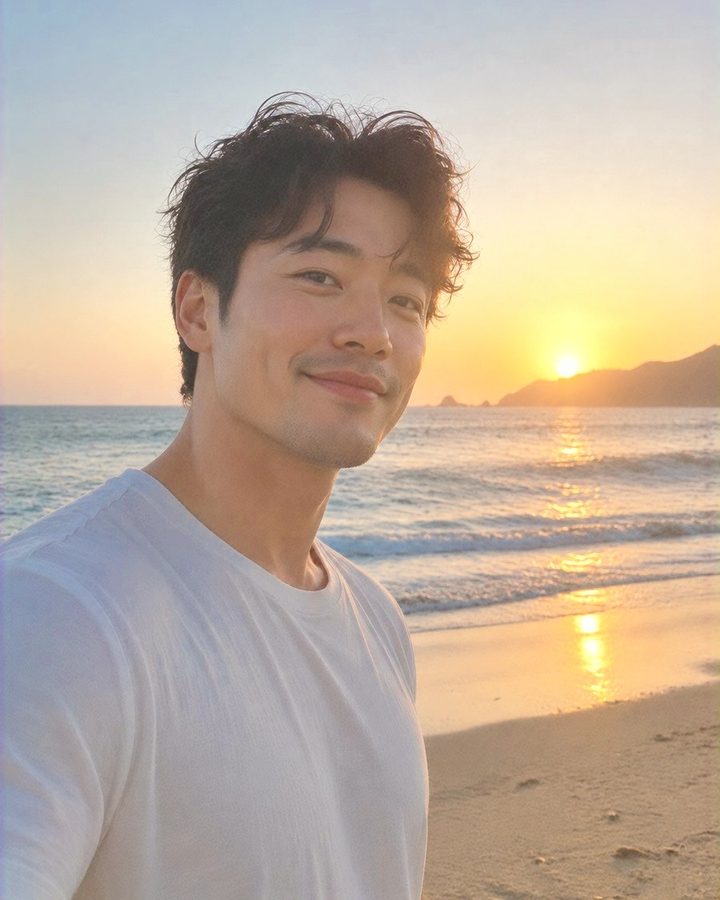
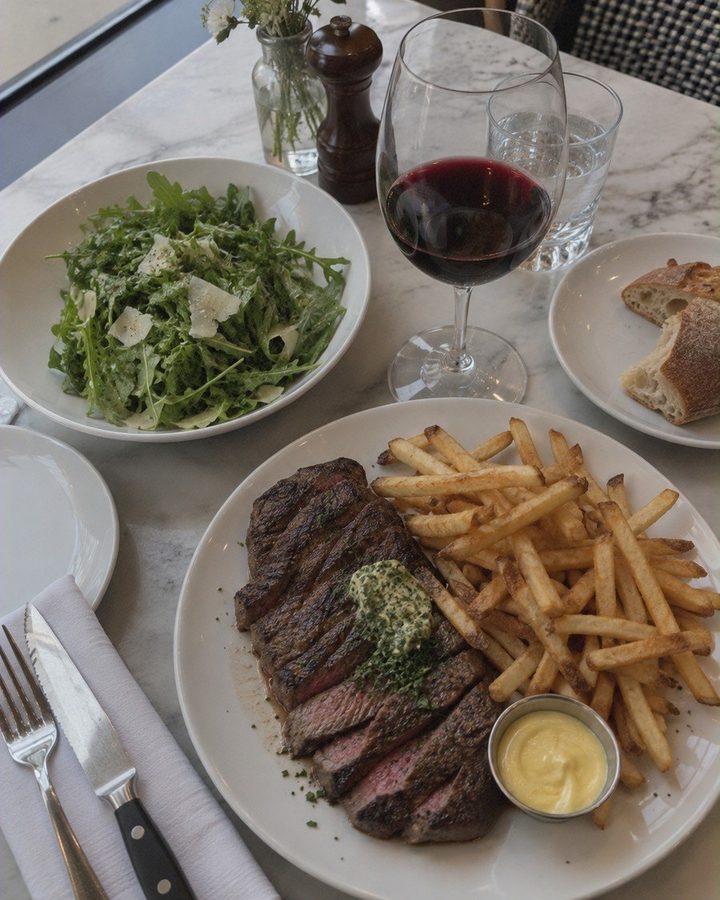
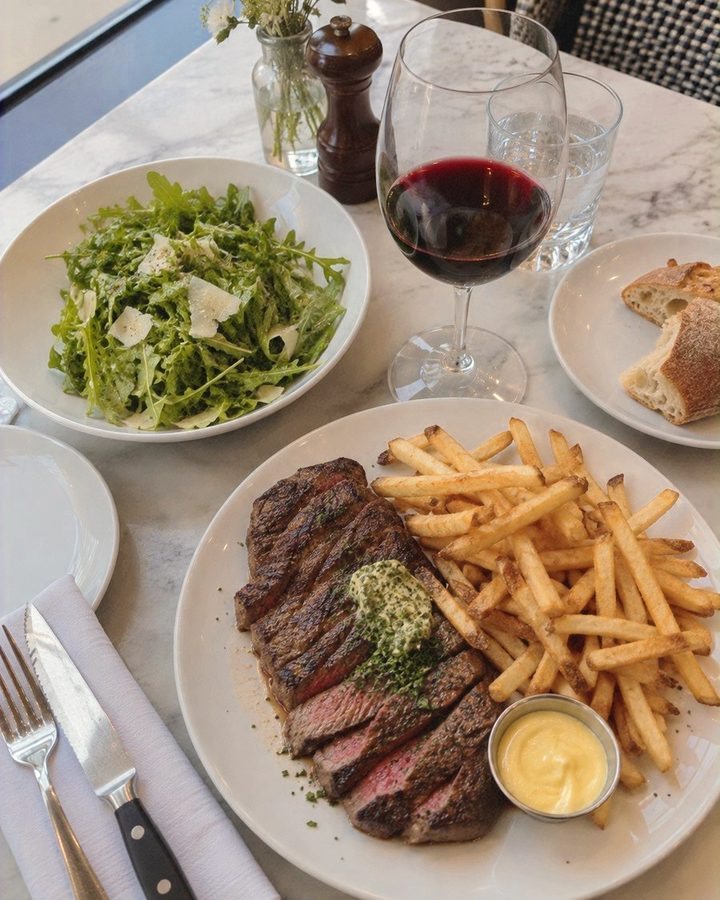
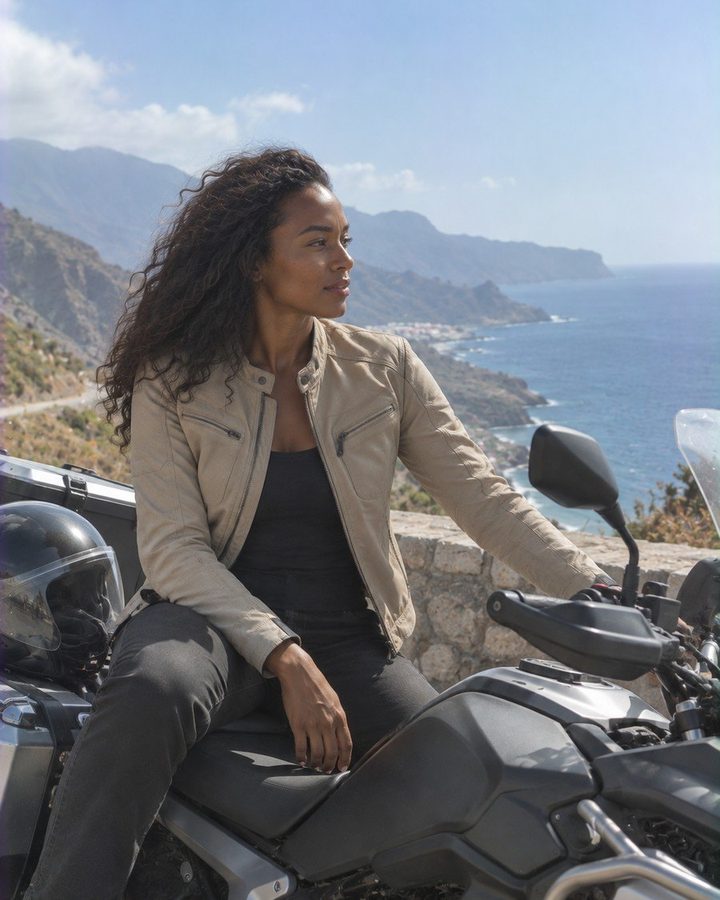
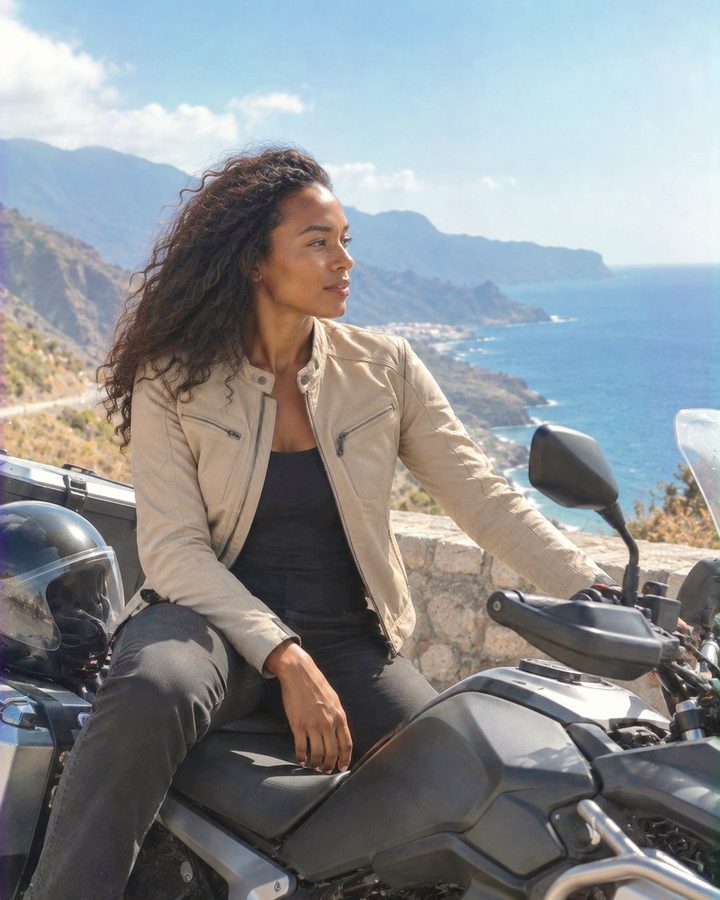
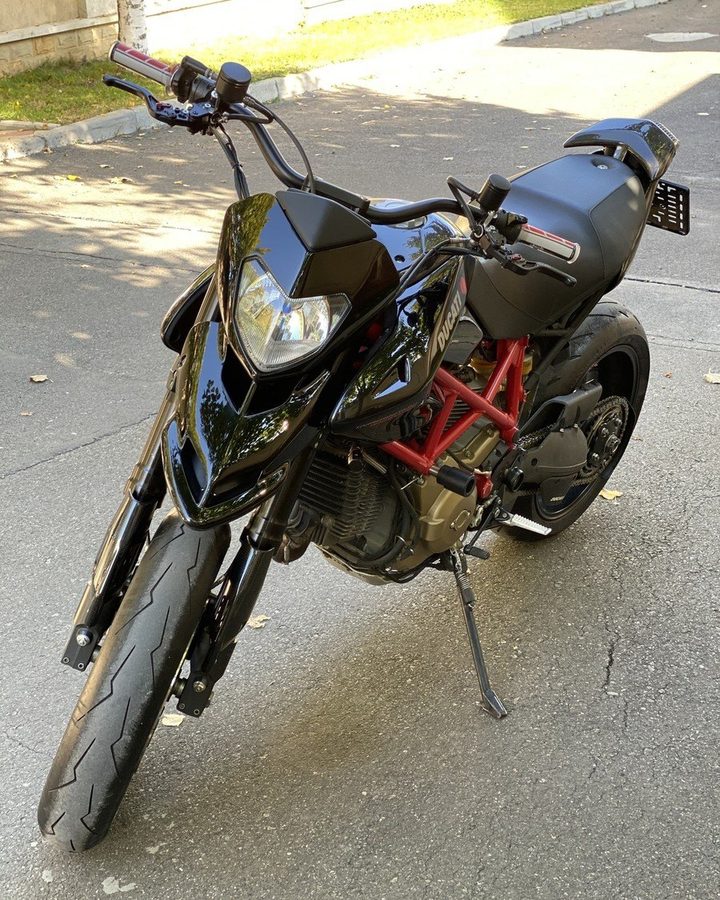
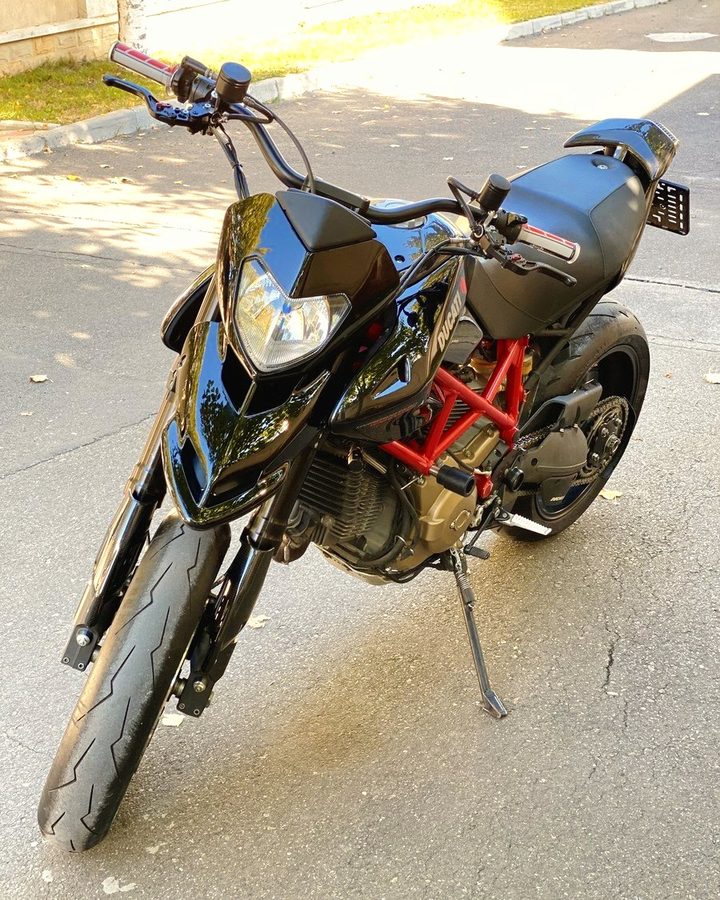
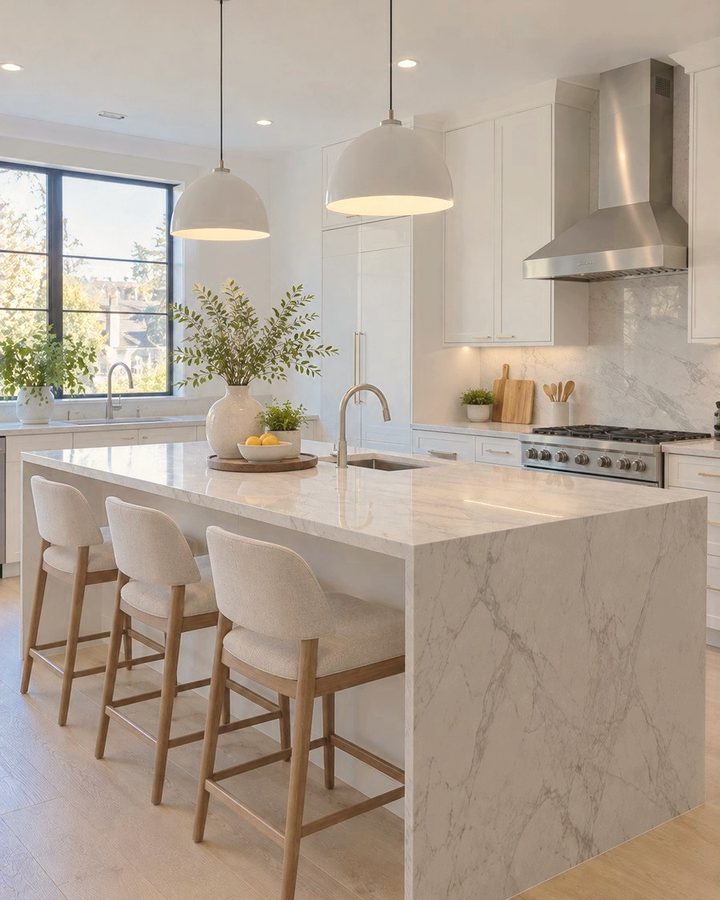
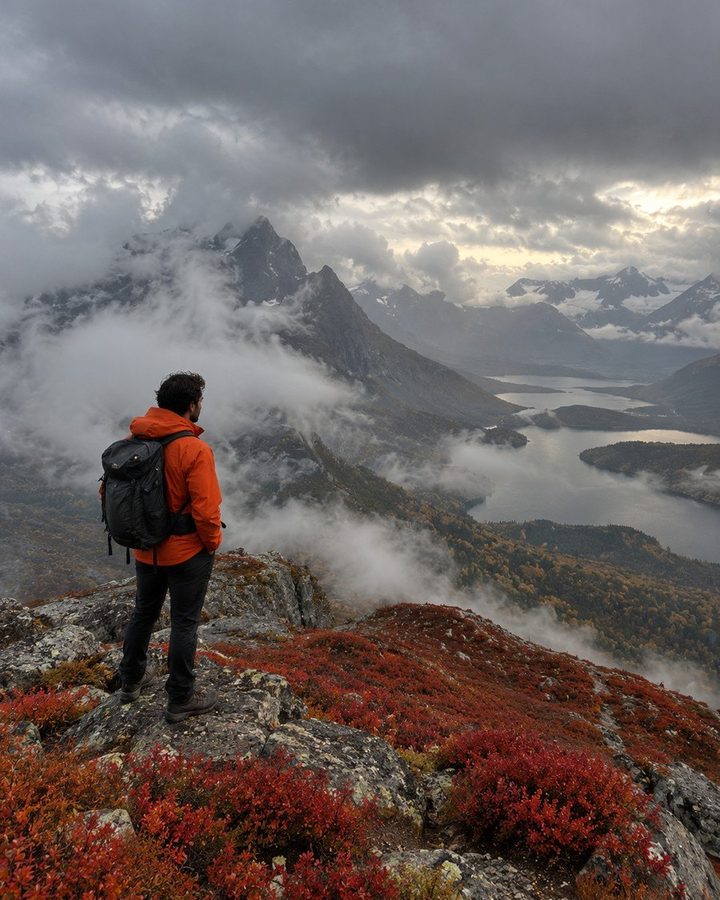
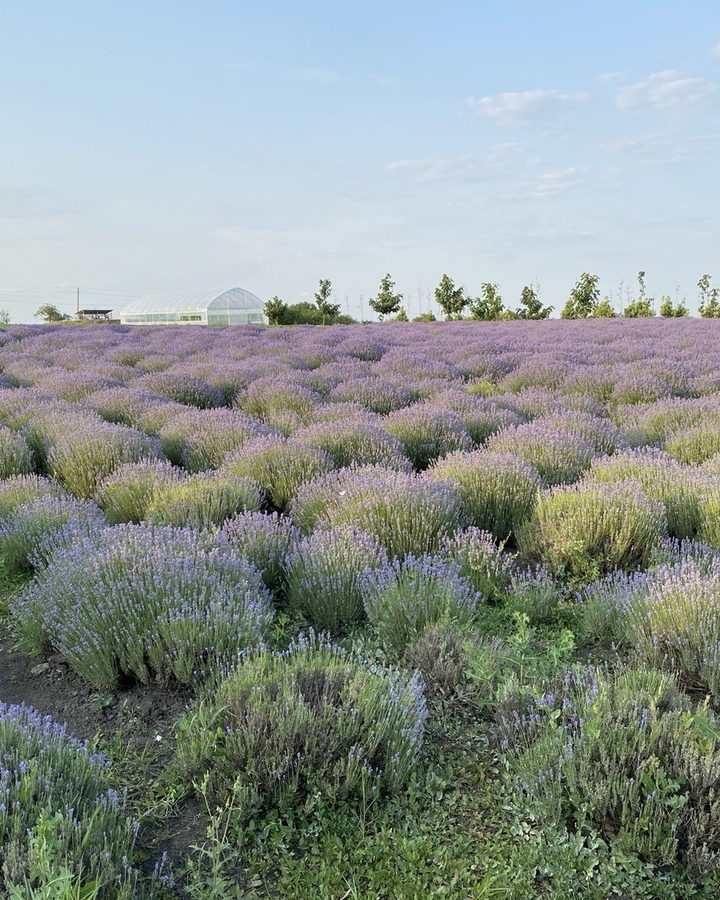
The same preset with no manual tweaks on 40 different shots: portraits, city, night, sea, snow, food, cars, interiors, nature and phone snapshots. Before on the left, after on the right.
 before
 after
 before
 after
 before
 after
 before
 after
 before
 after
 before
 after
 before
 after
 before
 after
 before
 after
 before
 after
 before
 after
 before
 after
 before
 after
 before
 after
 before
 after
 before
 after
 before
 after
 before
 after
 before
 after
 before
 after
 before
 after
 before
 after
 before
 after
 before
 after
 before
 after
 before
 after
 before
 after
 before
 after
 before
 after
 before
 after
 before
 after
 before
 after
 before
 after
 before
 after
 before
 after
 before
 after
 before
 after
 before
 after
 before
 after
 before
 after
Examples marked “AI-generated” were made by AI: ordinary phone-style shots with no editing. “Author's photo” was taken by the GradeColor author. Every “after” is this preset only, main version, no retouching.
How to fit it to your photo
Every shot has its own light, so sometimes one slider is needed after the preset. In this order:
Apply the preset. If the colour is too strong, use the Soft version: same look, lighter touch.
Dark shot: Exposure +0.3 to +0.7. Blown-out shot: −0.3 to −0.7, and pull Highlights down if the sky turns white.
Skin went yellow under lamps or blue in the shade: nudge Temperature a little the other way.
Questions and answers
Does it really fit 99% of photos?
The preset is built for ordinary shots without picking and choosing: day and night, people and landscapes, phone and camera. On very dark or blown-out photos, fix the brightness with Exposure first, then apply the preset. That is the remaining 1%: a frame with no light, or one that has gone pure white, cannot be saved by any preset.
How is it different from the $9 packs?
A $9 pack does one subject: snow, night, a wedding. GRADE ONE gives one colour to everything, so your feed looks consistent and you do not pick a pack per shot. It also comes with a Soft version, a video LUT and a fitting guide.
Does it work in the free Lightroom mobile app?
Yes. Open the .dng in Lightroom on your phone, copy the settings and paste them onto your photos. Or import the .xmp: Presets → Yours → ⋯ → Import Presets. No subscription needed.
RAW or phone photos?
Both: RAW, JPG and HEIC. RAW keeps more room in the highlights and shadows, so fitting is easier.
Can I use it on video?
Yes, the archive has a .cube LUT for Premiere Pro, DaVinci Resolve, Final Cut Pro and desktop CapCut. A LUT carries colour and contrast; grain, clarity and masks do not travel with it. Convert LOG footage to Rec.709 first.
What if a shot is very dark or blown out?
Exposure first: a dark shot +0.3 to +0.7, a blown-out one −0.3 to −0.7. Then the preset. If the sky goes white, pull Highlights down. Areas that are already pure white cannot be brought back: there is no detail left.
Can I use it for client work?
Yes, personal and commercial shoots are fine. Reselling or sharing the preset files is not.
How do I pay and when do I get the files?
By card through Gumroad, or through Telegram. The download link arrives right after payment.
What if it does not work for me?
14-day refund if a file does not open or does not match the description. If the preset does not sit right on your shot, send the photo to hello@gradecolor.com and we will tell you which slider to move.
Stuck? Write to hello@gradecolor.com and we will sort it out on your photo.
How to install
Three formats in the pack: .dng for the free Lightroom app on your phone, .xmp for Lightroom and Camera Raw on desktop, .cube for video and Photoshop. If the look is too strong, lower the LUT strength in your video editor, and in Lightroom adjust the sliders after applying the preset.
Lightroom Classic and Lightroom on desktop
- Lightroom Classic: Develop module → Presets panel → “+” → Import Presets → pick the .xmp.
- Cloud Lightroom: File → Import Profiles & Presets → pick the .xmp.
- They appear in the GradeColor group. Click a preset, then adjust white balance and exposure for your shot.
Lightroom on your phone (free)
- Save the .dng to your phone and add it to Lightroom: it opens as a photo carrying the look.
- Open that photo → ⋯ (top right) → Create Preset → name it → save. Or copy its settings and paste them onto your photos.
- You can also import the .xmp: Presets → Yours tab → ⋯ → Import Presets.
Photoshop and Camera Raw
- Preset: Filter → Camera Raw → Presets tab → ⋯ → Import Profiles & Presets → .xmp.
- LUT: Layer → New Adjustment Layer → Color Lookup → Load 3D LUT → .cube.
Premiere Pro (LUT)
- Select the clip → Lumetri Color panel.
- Creative → Look → Browse… → pick the .cube.
- The Intensity slider sets the strength.
DaVinci Resolve (LUT)
- Project Settings → Color Management → Open LUT Folder → copy the .cube there.
- Right-click the LUT list → Update Lists.
- Color page → right-click a node → LUT → pick the LUT. Strength: Key Output Gain. If you shot LOG, convert to Rec.709 on a separate node first.
Final Cut Pro (LUT)
- Select the clip → add the Custom LUT effect.
- In the effect settings → LUT → Choose Custom LUT… → pick the .cube.
- Mix sets the strength.
CapCut on desktop (LUT)
- Select the clip → clip adjustment panel → LUT section → Import → pick the .cube.
- Not every mobile editor imports LUTs, and menu names differ.
Stuck? Email hello@gradecolor.com and we’ll sort it out.
GRADE ONE: one preset for everything
Lightroom on desktop and phone, a Soft version, a video LUT, a fitting guide.